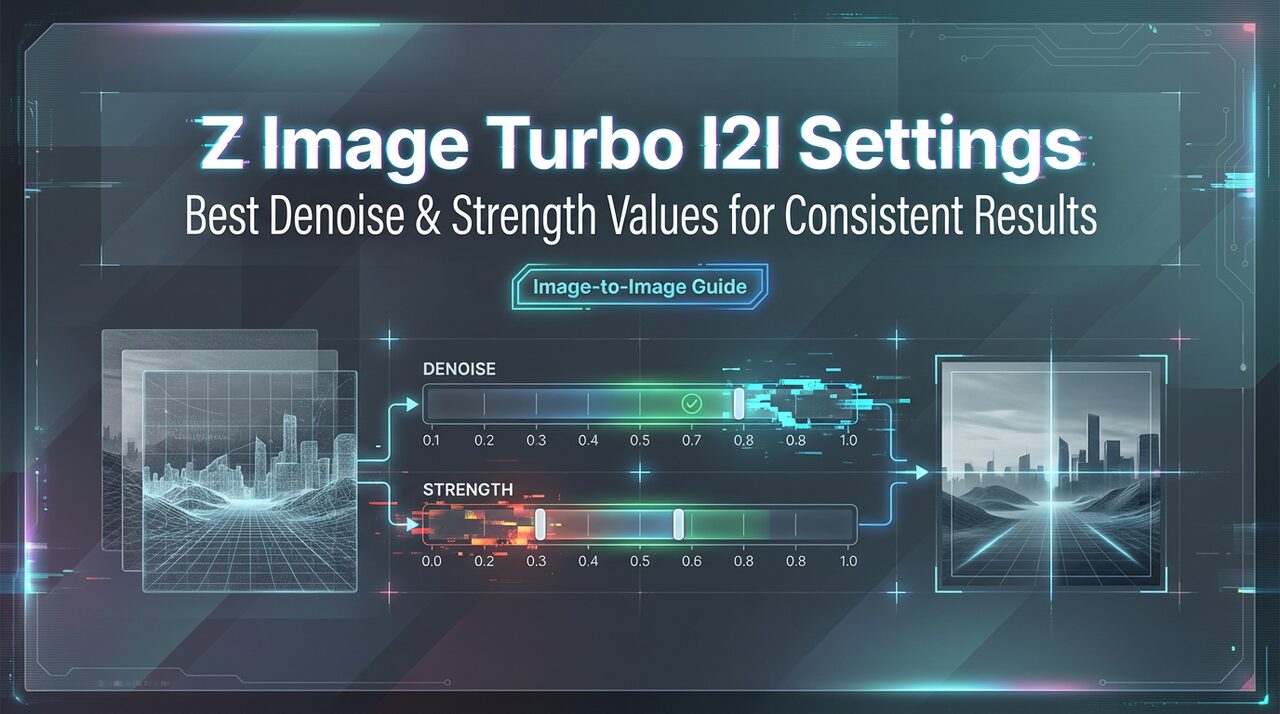
Z-Image Image-to-Image Deep Dive: A Complete Guide to the Denoise Parameter
Abstract: Image-to-Image (Img2Img) is one of the most powerful features in AI image generation. This article provides an in-depth breakdown of the Denoise (strength) parameter's full mechanism of action, covering optimal parameter ranges for five major use cases, hands-on style transfer workflows, sketch-to-photo pipelines, and consistency techniques for batch processing — helping you move from "tweaking by feel" to precise control.
Tags: Z-Image / Image-to-Image / Denoise / Style Transfer / Workflows

I. What Is Image-to-Image? Why Is It So Important?
Image-to-Image (Img2Img) is a core feature in Z-Image that "starts from an existing image and generates a new one." Unlike Text-to-Image, which generates from scratch, Img2Img allows you to:
- Preserve composition — Lock in the original image's layout, perspective, and subject placement
- Change style — Transform photos into anime, watercolor, oil painting, and more
- Repair and enhance — Upscale resolution, fix artifacts, and enhance details
- Iterate and explore — Quickly explore multiple variations based on a draft
If Text-to-Image is like creating on a blank canvas, then Image-to-Image is like "refining" an existing sketch — you can make subtle adjustments on top of the original or tear it apart and rebuild. And the key that determines whether you "fine-tune" or "rebuild" is the Denoise (strength) parameter.
II. Deep Dive into the Denoise/Strength Parameter
2.1 The Essence of the Parameter: How Much the Model "Forgets" the Source Image
The Denoise parameter ranges from 0 to 1, and its core meaning is: to what extent the model "forgets" the original input image and instead regenerates content based on the Prompt.
| Denoise Value | Behavior Description | Source Image Retention |
|---|---|---|
| 0.00–0.10 | Almost no change to the original image; only very subtle texture refinement | 95%+ |
| 0.10–0.25 | Light retouching/polishing, similar to a smart filter | 80%–90% |
| 0.25–0.35 | Mild style transfer, preserves composition while changing visual style | 60%–75% |
| 0.35–0.45 | Moderate restructuring, composition largely preserved while details change significantly | 40%–60% |
| 0.45–0.55 | Heavy restructuring, general layout preserved but content has changed notably | 20%–40% |
| 0.55–0.70 | High-freedom generation, source image provides only a vague compositional reference | 10%–25% |
| 0.70–1.00 | Close to Text-to-Image, source image influence is minimal, primarily driven by the Prompt | <10% |
2.2 Understanding the "Forgetting Curve"
Denoise does not have a linear effect — it behaves more like an S-shaped curve:
- Low range (0.0–0.3): Subtle changes, source image structure remains essentially intact
- Mid range (0.3–0.5): Accelerated changes — the "sweet spot" for style transfer and compositional reinterpretation
- High range (0.5+): Source image information is rapidly lost, entering an unpredictable zone
💡 Key Insight: Denoise is not a "quality switch" but a "control switch." The lower the value, the more control the source image holds; the higher the value, the more control shifts to the Prompt and the model itself.
III. Five Major Use Cases and Optimal Strength Ranges
Use Case 1: Style Transfer (Photo → Anime/Watercolor/Oil Painting)
Recommended Denoise: 0.28–0.35
This is the most classic Img2Img use case. Within this range, the model can preserve the source image's subject placement, face orientation, and overall composition while fully transforming the visual style to the target style described in the Prompt.
Key steps:
- Lock in your target style Prompt first (e.g.,
anime style, cel shading, vibrant colors) - Start testing at
0.30, then fine-tune in increments of0.02 - Recommended CFG Scale:
7–9
Use Case 2: Pose/Angle Adjustment (15°–25° Change)
Recommended Denoise: ~0.40
When you need to slightly adjust a subject's pose or camera angle (e.g., shifting a frontal portrait to a 3/4 angle), around 0.40 is a stable balancing point.
Important notes:
- Above Denoise
0.55, pose changes become unpredictable — facial distortion and limb misalignment may occur - For larger angle changes, use a step-by-step approach: first apply
0.40for a minor adjustment, then use the output as input for further tweaks
Use Case 3: Repair and Refinement (Fix & Refine)
Recommended Denoise: 0.18–0.22

This range acts like a "smart filter" — the model enhances details, fixes artifacts, and improves image quality with virtually no change to the composition or content.
Typical use cases:
- Removing extra fingers or background clutter
- Improving facial detail clarity
- Fixing blurry areas produced by Text-to-Image
Key steps:
- Use specific repair instructions, such as
detailed eyes, clean background, sharp focus - Set CFG Scale lower (
4–6) for more natural-looking repairs
Use Case 4: Conceptual Variation Exploration
Recommended Denoise: 0.35–0.50
When you have a solid draft but want to explore "what if the scene had a different style/time period/atmosphere?", this range allows enough variation while preserving the composition.
Key steps:
- Change the style/atmosphere keywords in the Prompt while keeping the subject description consistent
- Change only 1–2 keywords at a time to avoid runaway variations
Use Case 5: Creative Restructuring (Preserving Compositional Inspiration)
Recommended Denoise: 0.55–0.70
When you only want to keep the source image's compositional inspiration (e.g., subject placement, scene perspective) but redesign almost all content, use a higher Denoise value.
Important notes:
- Above
0.70, source image information is already extremely faint — nearly equivalent to Text-to-Image - Consider pairing with ControlNet or Inpainting for more precise control
IV. Hands-On Style Transfer Deep Dive
4.1 Photo → Anime Style
Prompt: anime style, cel shading, vibrant colors, detailed eyes, clean line art
Negative: photo, realistic, blurry, deformed
Denoise: 0.30
CFG: 8
Seed: fixed value (e.g., 42)
Debugging tips:
- If the anime style isn't strong enough, gradually increase Denoise to
0.33–0.35 - If the face loses the photo's characteristics, decrease Denoise to
0.27–0.28 - Make sure style keywords in the Prompt are strong enough (you can add
masterpiece, best qualityto boost)
4.2 Photo → Watercolor Painting
Prompt: watercolor painting, soft edges, flowing colors, artistic brush strokes, paper texture
Negative: sharp lines, digital art, photo, realistic
Denoise: 0.32
CFG: 7
Seed: fixed value
Debugging tips:
- Watercolor style requires a slightly higher Denoise (
0.30–0.35) because the stylistic shift is larger than anime - If the image looks too "clean," add
perfect, clean, digitalto the Negative Prompt
4.3 Photo → Oil Painting Style
Prompt: oil painting, thick brush strokes, impasto texture, dramatic lighting, museum quality
Negative: flat, digital, anime, cartoon, photo
Denoise: 0.33
CFG: 8
Seed: fixed value
Debugging tips:
- Oil painting style needs strong brush stroke representation; Denoise
0.33–0.35produces rich textures - If brush strokes aren't prominent enough, try adding
textured, visible brush strokeskeywords
4.4 Style Transfer Parameter Tuning Flowchart
Photo Input
  │
  ├─ Denoise = 0.28 → Check style strength
  │   ├─ Style not strong enough → +0.02
  │   └─ Features lost → -0.02
  │
  ├─ Denoise = 0.30 → Baseline test point
  │   ├─ Satisfied → Fine-tune CFG
  │   └─ Not satisfied → Continue adjusting Denoise
  │
  └─ Denoise = 0.35 → Style upper limit
      ├─ Above this → Composition starts to loosen
      └─ Need more style → Consider switching models
V. Sketch-to-Photo Workflow
5.1 Workflow Pipeline
Sketch/Line Art Input
    │
    ├─ Step 1: Base Conversion
    │   Denoise: 0.45–0.50
    │   Prompt: "a realistic photo of [subject description]"
    │   Purpose: Convert lines into basic forms
    │
    ├─ Step 2: Detail Enhancement
    │   Use Step 1 output as input
    │   Denoise: 0.20–0.25
    │   Prompt: "detailed, high quality, sharp focus, professional photography"
    │   Purpose: Enhance textures and realism
    │
    └─ Step 3: Fine Repair (Optional)
        Use Step 2 output as input
        Denoise: 0.15–0.18
        Prompt: Targeted repair instructions for specific areas
        Purpose: Eliminate artifacts
5.2 Key Considerations
- Sketch quality sets the ceiling: The clearer the lines and the more accurate the structure, the higher the output quality
- Step-by-step beats one-and-done: Using a high Denoise for a single-step conversion often produces distortions; a two-step approach (convert + enhance) yields better results
- Negative Prompt matters: Add
deformed, blurry, bad anatomy, disfiguredto exclude common issues - Pair with ControlNet: If available, use the Canny / Lineart preprocessor to lock in line structure
5.3 Quick Parameter Reference Table
| Step | Denoise | CFG | Goal |
|---|---|---|---|
| Base Conversion | 0.45–0.50 | 7–8 | Line art → Basic forms |
| Detail Enhancement | 0.20–0.25 | 6–7 | Improve image quality |
| Fine Repair | 0.15–0.18 | 4–5 | Eliminate artifacts |
VI. Consistency Techniques for Batch Processing
When you need to batch-process large volumes of images (e.g., style transfer across an entire series, unifying product photo styles), maintaining consistency is the biggest challenge. Below is a proven "consistency recipe":
6.1 Fixed Random Seeds
- Why: The same Seed ensures the model produces consistent noise patterns for the same input
- How: Before batch processing, first test with a single sample to find the "best Seed," then use that Seed across all tasks
- Advanced tip: If a single Seed isn't enough, prepare 3–5 backup Seeds and assign fixed Seeds to different image types
6.2 Strength Grid Testing
Before formal batch processing, use a mini test grid to quickly lock in optimal parameters:
- Select 2–3 representative samples
- Generate outputs at four Denoise values —
0.25 / 0.30 / 0.35 / 0.40— for each sample - Compare results and select the best Denoise range
- Time estimate: only 12–15 minutes per concept
⏱️ A 12–15 minute mini-test can save hours of rework later — extremely cost-effective.
6.3 File Naming Convention
After batch processing, it's recommended to name output files using the following format:
[original_filename]_strength-{denoise}_cfg-{cfg}.png
Examples:
portrait_01_strength-0.30_cfg-8.png
portrait_02_strength-0.30_cfg-8.png
product_shot_A_strength-0.28_cfg-7.png
This way you can:
- Quickly trace parameter configurations
- Directly modify parameter values in filenames for subsequent adjustments
- Maintain parameter transparency in team collaboration
6.4 Consistency Checklist
| Check Item | Action |
|---|---|
| Seed Consistency | Use the same Seed or a fixed Seed pool across the entire batch |
| Denoise Consistency | Lock in a single value after grid testing |
| CFG Consistency | Use the same CFG across the entire batch |
| Prompt Consistency | Keep subject description unchanged, only fine-tune style keywords |
| Size Consistency | Use a unified output resolution |
| Model Consistency | Use the same model and version across the entire batch |
VII. Common Pitfalls and Parameter Troubleshooting
Pitfall 1: Negative Prompt "Not Taking Effect"
Symptoms: You wrote deformed, blurry in the Negative Prompt, but the output is still blurry or distorted.
Root cause: The effectiveness of the Negative Prompt heavily depends on whether Denoise is within a reasonable range. When Denoise is too high (>0.55) or too low (<0.15), the impact of the Negative Prompt is significantly weakened.
Solution:
- First adjust Denoise to a reasonable range (refer to the recommended values per use case in Chapter III)
- Ensure the Negative Prompt is consistent with the intended style (in style transfer scenarios, the Negative Prompt should not conflict with the target style)
- Don't set CFG Scale too low — at least
5or above for the Negative Prompt to take effect
Pitfall 2: Pose Changes Getting Out of Control
Symptoms: You only wanted a slight angle adjustment, but the result shows facial distortion or limb misalignment.
Root cause: After Denoise exceeds 0.55, the model's grip on the source image's structure becomes unstable.
Solution:
- Strictly keep pose adjustments within the Denoise
0.35–0.45range - For larger changes, use a step-by-step strategy (multiple small adjustments instead of one big one)
- Pair with ControlNet OpenPose to lock in body structure
Pitfall 3: Style "Halfway There"
Symptoms: The output looks neither like the original style nor the target style — stuck in an awkward middle ground.
Root cause: Denoise is in a "threshold zone" — not enough to complete the style transfer, yet disruptive enough to break the original style.
Solution:
- Fine-tune Denoise in
0.02increments to skip past the threshold zone - Strengthen style keywords in the Prompt (add weight:
(oil painting:1.3)) - Consider switching to a model specifically trained for the target style
Pitfall 4: Style Drift in Batch Outputs
Symptoms: Under the same parameter settings, output styles are inconsistent across different input images.
Root cause: Source images vary in complexity, contrast, and color distribution, causing the same Denoise value to produce different effects on different images.
Solution:
- Run separate grid tests for different types/complexities of source images
- Group source images by category and use independent parameter configurations for each group
- Apply preprocessing normalization (brightness/contrast adjustments) uniformly before output
Pitfall 5: "Plastic Look" from Over-Refinement
Symptoms: After low-Denoise refinement, the image looks too smooth and loses its natural texture.
Root cause: The model tends to "smooth things out" at low Denoise levels; over-refinement erases natural texture.
Solution:
- Don't set Denoise below
0.15(below this value, oversmoothing is likely) - Add keywords like
natural texture, organic detailsto the Prompt - Consider using Inpainting for localized repair instead of full-image refinement
VIII. Summary: Denoise Parameter Quick Reference
| Use Case | Recommended Denoise | CFG | Key Takeaway |
|---|---|---|---|
| Light Repair | 0.18–0.22 | 4–5 | Smart filter, detail enhancement |
| Style Transfer | 0.28–0.35 | 7–9 | Preserve composition, change style |
| Pose Adjustment | ~0.40 | 6–8 | Don't exceed 0.45, use step-by-step |
| Conceptual Variation | 0.35–0.50 | 7–9 | Preserve layout, vary content |
| Creative Restructuring | 0.55–0.70 | 7–10 | Source image as reference only, unpredictable |
Core Principles
- Denoise is a control switch — Not a "higher is better" quality switch
- Negative Prompt depends on proper Denoise — Wrong parameters mean the Negative Prompt won't work
- Test first, batch later — A 12–15 minute grid test is worth the investment
- Step-by-step beats one-and-done — Multiple small adjustments are more controllable than one large adjustment
- Lock parameters for consistency — Fixed Seed, Denoise, and CFG are the foundation of batch processing
📌 What's Next: Image-to-Image is only part of Z-Image's capabilities. In the next article, we'll dive deep into ControlNet preprocessor selection and its synergy with Img2Img workflows, achieving pixel-level precise control.
This article is based on real-world Z-Image workflow testing. Parameter recommendations may vary depending on model version, hardware configuration, and other factors. Fine-tune based on your actual use case.
Related Documents:
- [[ZI-001-Text-to-Image Beginner Guide]]
- [[ZI-003-Advanced Prompt Engineering]]
- [[ZI-005-Batch Processing in Practice]]
- [[ZI-009-ControlNet Synergy Workflow]] (Coming Soon)