Z-Image Turbo + ControlNet Union: The Ultimate ComfyUI Pose Control Guide
Z-Image has been out for a while, and everyone praises its quality. But its limitation is it only does text-to-image, and text-based control over character poses is not great. The turbo version can generate images quickly for more sampling, but we still wish Z-Image-Edit would come out soon — it would be even better if it supported multi-image references.
Before Z-Image-Edit arrives, we can try using Z-Image-Turbo-Fun-Controlnet-Union for pose control.
What is Pose Control?
Pose control is a mature technique in text-to-image, well-established during the Stable Diffusion era. The open-source community's Z-Image Controlnet is built on the SD ecosystem, supporting:
Canny Edge Detection
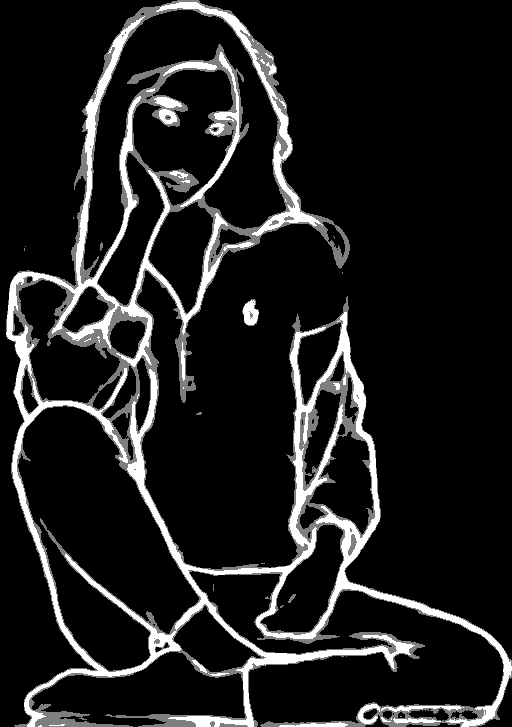
Extracts hard edges from images, preserving edge features — similar to simple line drawings.
HED Soft Edges
Compared to Canny, soft edges preserve transition information, closer to hand-drawn sketches.
OpenPose
The stick-figure skeleton maps that precisely control body poses.

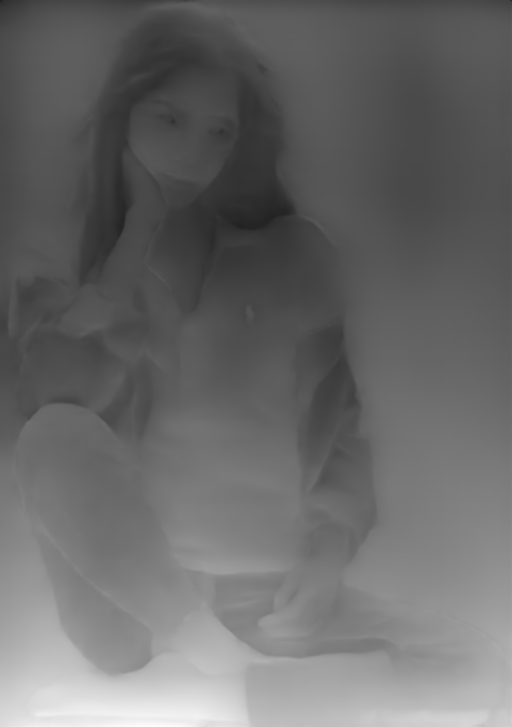
Depth Estimation
Single-channel depth maps using grayscale to represent 3D spatial positions of objects.

Preparation
Using pose control requires downloading quite a few items.
1. Download the Z-Image-Turbo-Fun-Controlnet-Union Module
This is an additional module that stacks on top of the original Z-Image-Turbo, placed in the ComfyUI/models/model_patches directory.
The preferred download source is HuggingFace, but for those who prefer speed, searching on ModelScope for the most-downloaded version works great and is very fast.
2. Install the ControlNet Processing Plugin
Besides Canny (built into ComfyUI), we need the aux preprocessor for the others:
Plugin Install: https://github.com/Fannovel16/comfyui_controlnet_aux
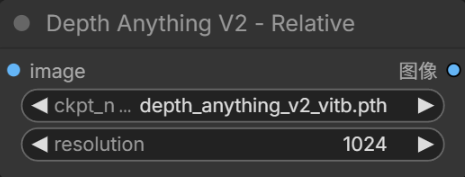
3. Download Processing Models
Different processing nodes need their own models. The aux nodes default to auto-downloading from HuggingFace, which is a dealbreaker if you can't connect to the international internet. So you need to download these models yourself and place them in ComfyUI/custom_nodes/comfyui_controlnet_aux/ckpts.
While you can find all-in-one packs on file-sharing sites, without a premium account those are a hassle — I chose to manually download from ModelScope.
| Model | ModelScope Link |
|---|---|
| depth_anything_v2_vitb | https://www.modelscope.cn/models/depth-anything/Depth-Anything-V2-Base |
| body pose | https://www.modelscope.cn/models/muse/annotator_body_pose_model |
| hand pose | https://www.modelscope.cn/models/muse/annotator_hand_pose_model |
| face pose (rename to facenet) | https://www.modelscope.cn/models/muse/annotator_face_pose_model |
| ControlNetHED | https://www.modelscope.cn/models/muse/ControlNetHED |
Live Results
Now let's see the results. The workflow can be built using ComfyUI's official templates.
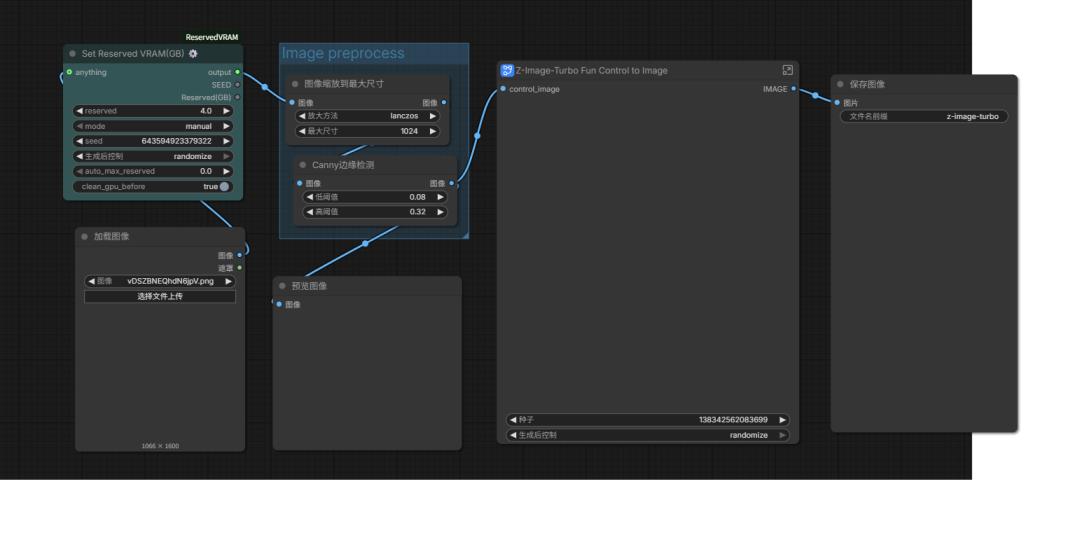
However, with my 12GB entry-level GPU, loading the model and patches simultaneously causes OOM errors. I referenced a VRAM-hardcore tutorial and added a VRAM control plugin (Set Reserved VRAM(GB) ⚙️) to make it work, though it's a bit slower (about 3 minutes per image on average).
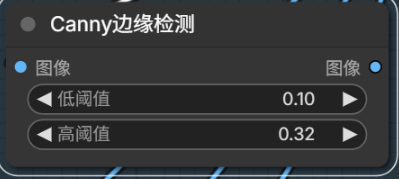
Canny Edge Detection
Canny edge detection is natively supported by ComfyUI — let's try it directly.
The results are pretty good with high fidelity.
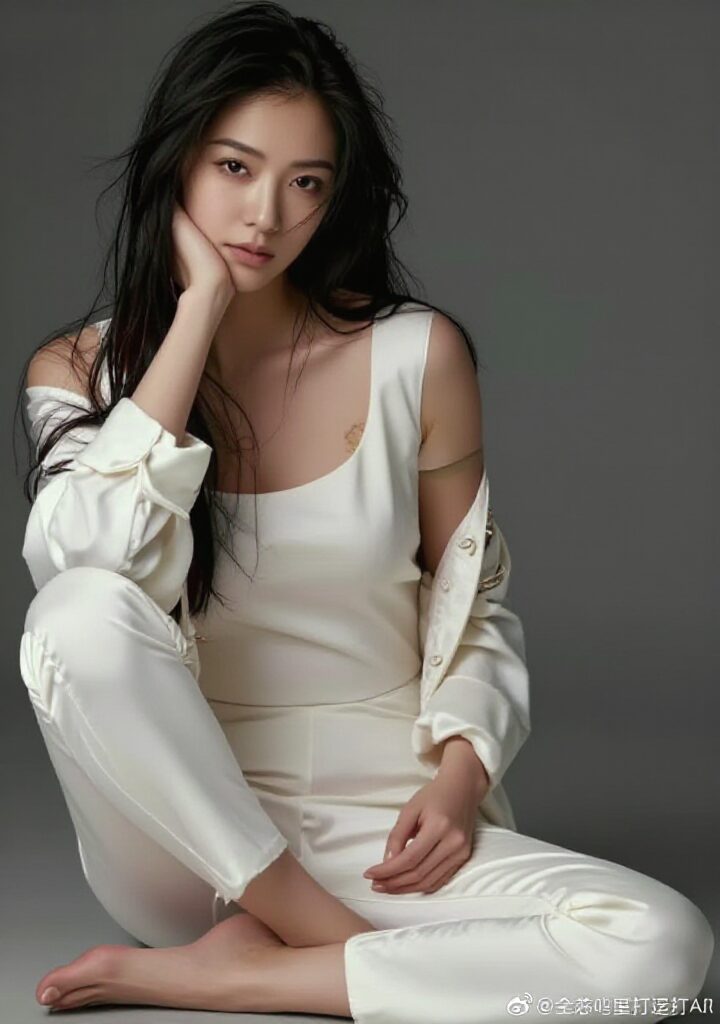
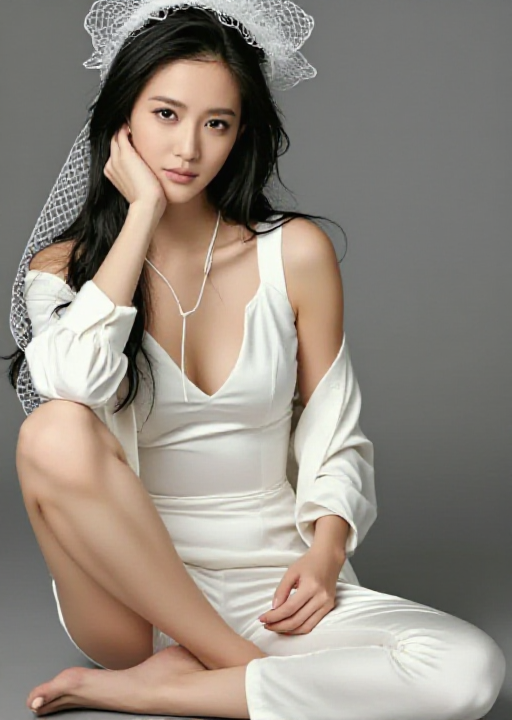
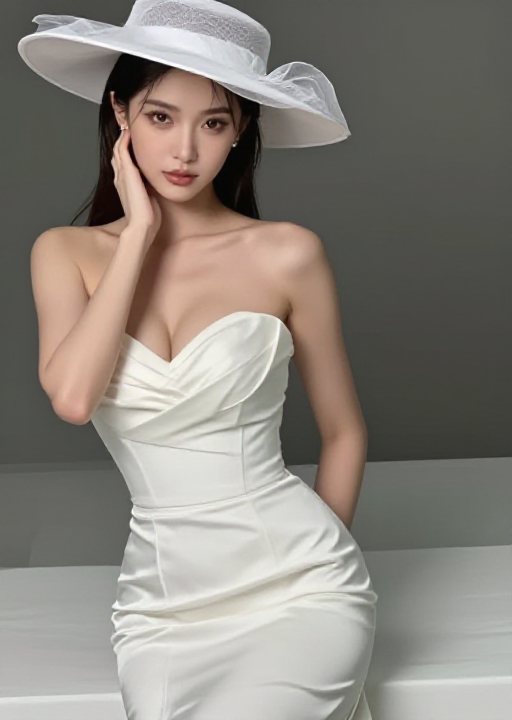
Original reference image:

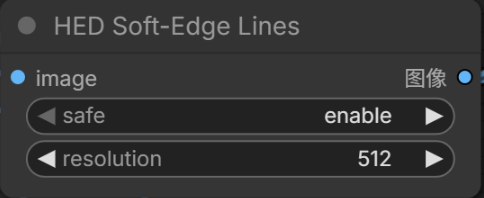
HED Soft-Edge Lines
Replace the Canny node with HED Soft-Edge Lines. Depth Anything offers several model variants; I chose the base version:
This seems to produce too much noise in the output — the control image has too much information, giving the generated images an oil-painting-like appearance.
More HED examples:

HED Original Reference:
HED Comparison:
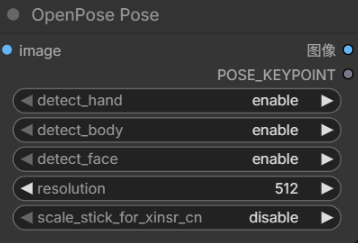
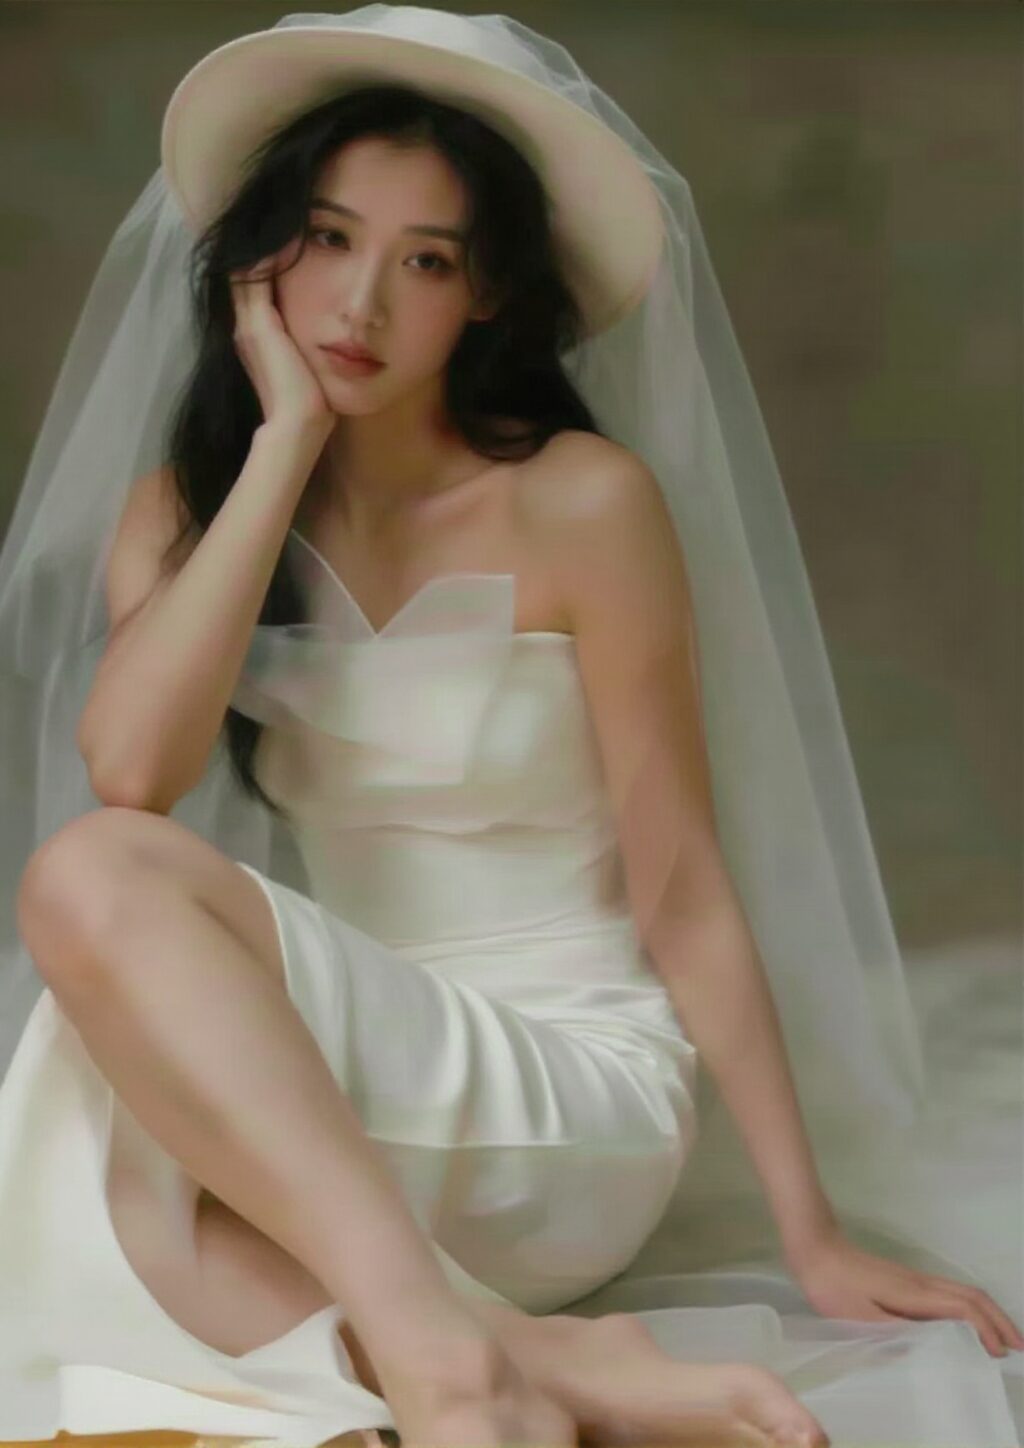
OpenPose
OpenPose requires three detection models for face, hands, and body:
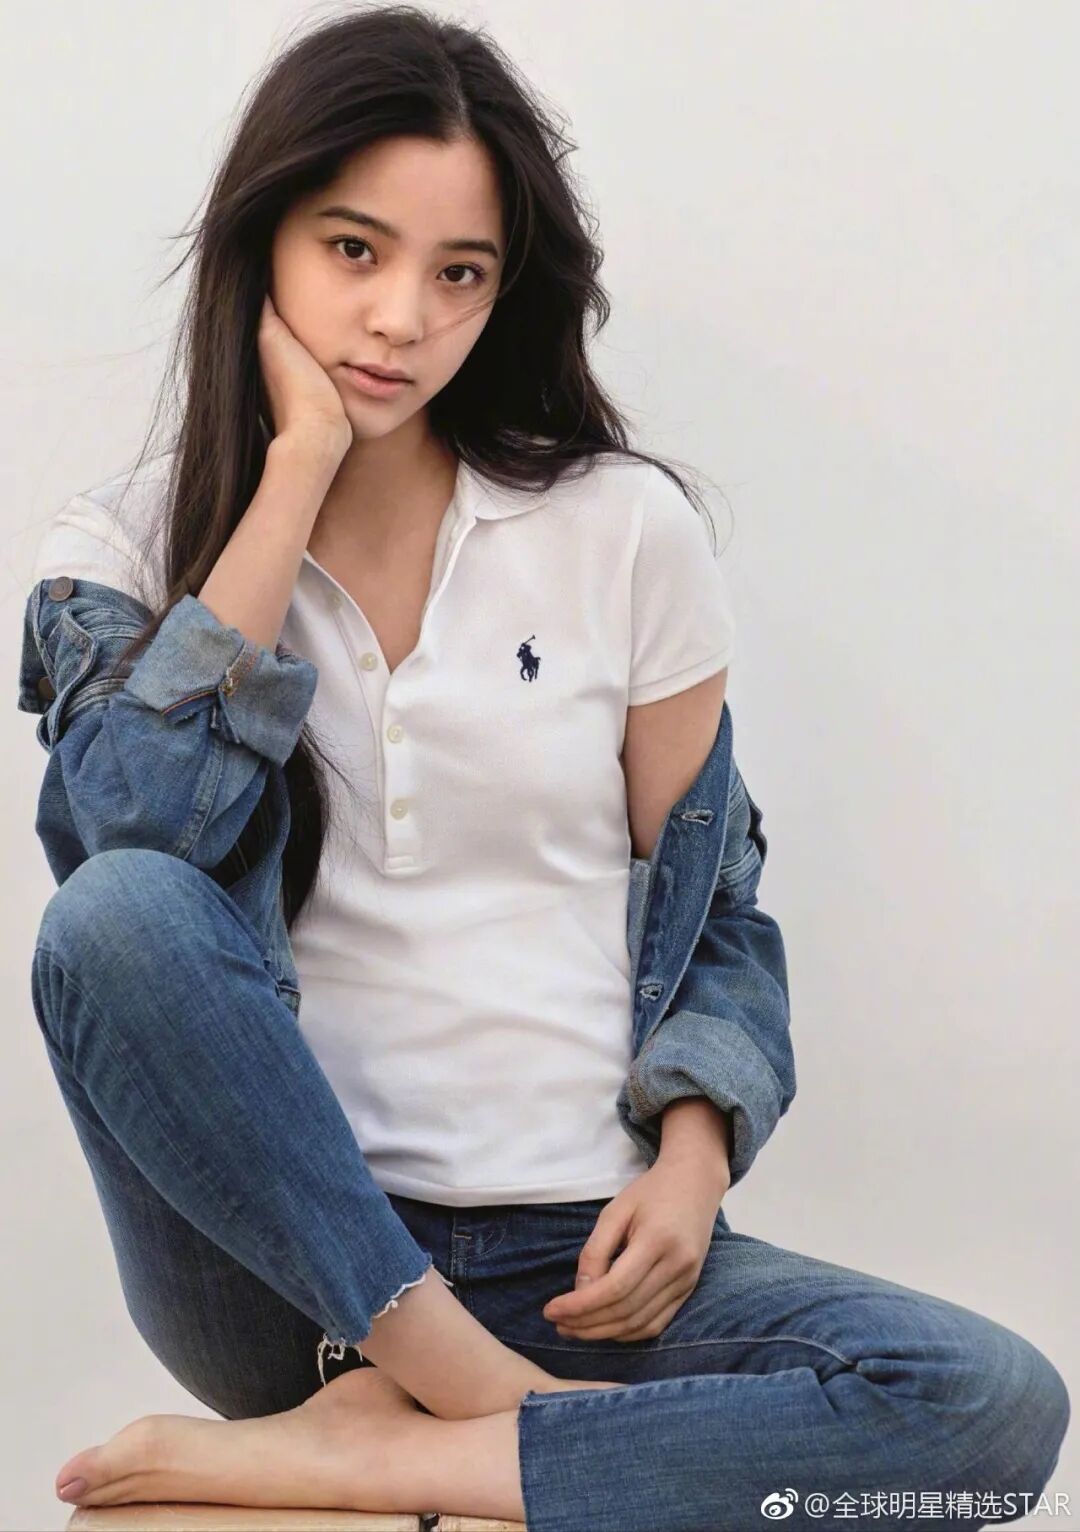
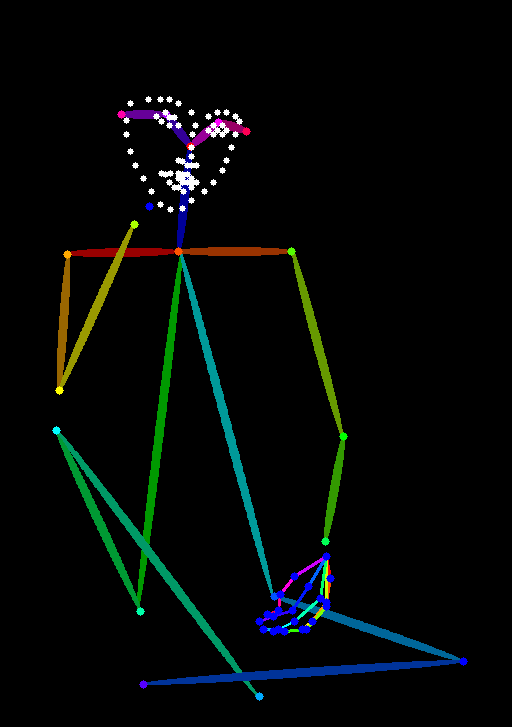
The stick-figure approach sometimes doesn't perfectly respect the original pose — the generated poses can shift slightly.
Summary
- Use Z-Image-Turbo-Fun-Controlnet-Union as a model patch for Z-Image to enable ControlNet
- Use the Set Reserved VRAM(GB) ⚙️ node to manage VRAM usage, enabling low-end GPU operation
- Use comfyui_controlnet_aux plugin to access different ControlNet models
Personally, I find that Canny produces the highest-fidelity ControlNet inputs.
There are still many pose-generation nodes I haven't tried, mostly because I couldn't find quick download sources. Different nodes perform differently for real photos vs. cartoon characters, and different poses yield different results.
Give them all a try, and if you find a pose-control model that suits your style, be sure to share it!